Mastering Custom Signage with the Mars 130 Laser Engraver
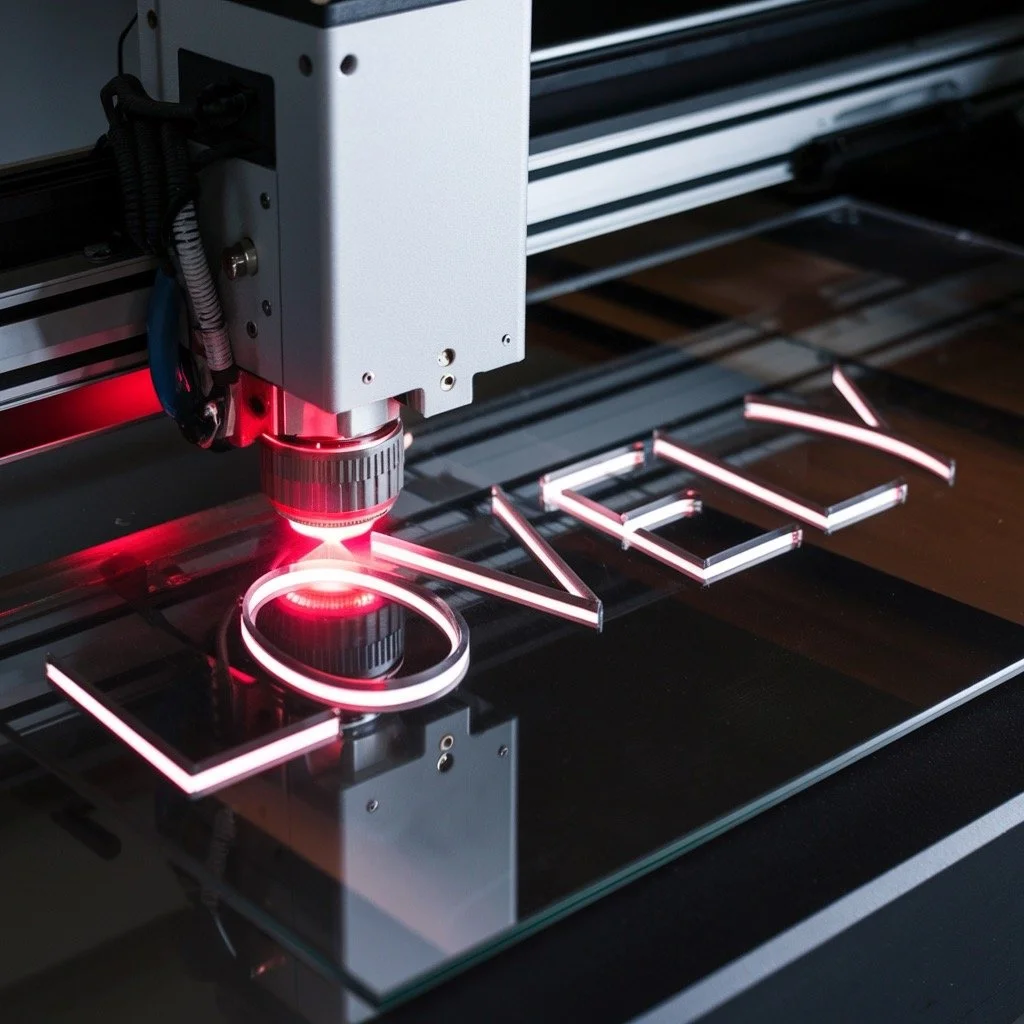
Laser engraving is a powerful method for creating custom signage, offering unmatched precision and versatility. Among the many tools available, the Mars 130 laser engraver stands out for its robust capabilities and user-friendly interface. Whether you're crafting detailed business signs or personalized home decor, understanding how to optimize the Mars 130's settings for different materials is key to achieving professional results.
Getting to Know the Mars 130 Laser Engraver
The Mars 130 is a top choice for both beginners and seasoned engravers. It features a 130-watt CO2 laser, which allows it to cut and engrave a variety of materials with ease. With a generous work area of 1300mm x 900mm and a resolution up to 1000 DPI, the Mars 130 is well-suited for detailed and intricate projects.
Key Features of the Mars 130
Laser Type: CO2
Power: 130 watts
Work Area: 1300mm x 900mm
Resolution: Up to 1000 DPI
Compatible Materials: Wood, acrylic, leather, glass, coated metal, and various plastics
Choosing the Right Material for Your Signage
Selecting the appropriate material is a critical first step in any engraving project. The material you choose will influence the final look, durability, and the settings you'll use on the Mars 130.
Wood: Ideal for a natural, rustic look.
Acrylic: Perfect for modern, sleek designs.
Glass: Provides a classy, frosted finish.
Metal (with coating): Great for durable, long-lasting signs.
Leather: Offers a unique, textured appearance.
Plastics: Available in various types, each with distinct engraving properties.
Preparing the Mars 130 for Engraving
Before you begin engraving, it's essential to ensure that your Mars 130 is properly set up. This involves both hardware and software preparations.
Hardware Setup
Place the machine on a stable, level surface.
Ensure the bed is properly aligned and the laser is clean and calibrated.
Verify that the cooling system is functioning correctly.
Software Setup
The Mars 130 works with several design software programs, including CorelDRAW, Adobe Illustrator, and AutoCAD. Import your designs in compatible formats like SVG or DXF, and adjust the engraving parameters based on the material you're using.
Safety Considerations
Always prioritize safety. Wear protective eyewear when operating the Mars 130, and make sure your workspace is well-ventilated to avoid inhaling fumes, especially when engraving plastics. Never leave the machine unattended while it's running.
Optimizing Settings for Different Materials
To achieve the best engraving results, it's important to fine-tune the power, speed, and focus settings based on the material you're working with.
Wood: Balancing Power and Speed
Power: 50-70%
Speed: 300-500 mm/s
Focus: Just below the surface for deeper cuts, at the surface for detailed work.
Wood is versatile but can char easily. Adjust your settings based on the type of wood—softer woods like pine may require lower power, while hardwoods like oak can handle more intense settings.
Acrylic: Achieving a Clean Finish
Power: 30-50%
Speed: 400-600 mm/s
Focus: At the surface for clear acrylic, slightly above for a frosted effect.
Acrylic is popular for signage because of its clean, polished finish. Pay close attention to the focus to avoid cracking, particularly with clear acrylic.
Metal: Techniques for Coated Metals
Power: 80-100%
Speed: 200-300 mm/s
Focus: Use an engraving paste or coating for uncoated metals.
Engraving on metal can be tricky, especially with uncoated metals. A high power setting combined with a lower speed usually yields the best results.
Glass: Avoiding Cracks and Flaws
Power: 10-30%
Speed: 400-600 mm/s
Focus: Slightly above the surface.
Engraving glass creates a frosted effect. To avoid cracking, use lower power settings and higher speeds.
Leather: Precision Without Burning
Power: 20-40%
Speed: 300-500 mm/s
Focus: Slightly above the surface for a softer mark.
Leather can easily burn if overexposed. Keep the power low and adjust the focus to prevent scorching.
Plastics: Handling Different Types
Power: 10-50%
Speed: 400-700 mm/s
Focus: At or slightly above the surface.
Since plastics vary widely in their properties, always conduct a test engraving. For instance, ABS plastic is more prone to melting than acrylic, so lower power is recommended.
Advanced Techniques for Unique Signage
For those looking to go beyond basic engraving, the Mars 130 supports advanced techniques that can make your signage stand out.
Layered Engraving for Depth
Layered engraving involves multiple passes with different settings to create a 3D effect. Start with lower power settings and gradually increase the depth with each pass.
Fine Detail Work
For intricate designs, slow down the engraving speed slightly to ensure precision. Use vector mode for clean lines and raster mode for shading and detailed images.
Engraving High-Resolution Images
When engraving photographs or complex images, set the resolution to at least 300 DPI and use dithering techniques to achieve depth and shading.
Troubleshooting Common Issues
Even with careful setup, issues can occur. Here’s how to address some of the most common problems:
Burn Marks: Reduce power or increase speed.
Uneven Engraving: Check the bed alignment and material flatness.
Inconsistent Results: Clean the laser's lens and mirrors regularly, and recalibrate as needed.
Maintaining the Mars 130 for Longevity
Routine maintenance is crucial for keeping your Mars 130 in top condition.
Regular Cleaning
Clean the lenses, mirrors, and work bed after every use to prevent residue buildup that can affect performance.
Cooling System and Power Supply
Regularly check the cooling system and power supply to ensure they're functioning correctly. Keeping the system well-maintained will extend the life of your engraver.
Software Updates
Keep your software up to date to ensure compatibility and access to the latest features.
Creative Signage Ideas with the Mars 130
The possibilities are endless with the Mars 130. Here are a few ideas to inspire your next project:
Business Signage: Create professional signs with logos and branding elements using materials like metal or acrylic for a polished finish.
Personalized Home Decor: Design custom nameplates or address signs in wood or acrylic, perfect for gifts or home decoration.
Event Signage: Make elegant wedding signs, party decorations, or commemorative plaques that stand out.
FAQs About Laser Engraving with the Mars 130
What settings work best for different materials?
Wood often requires higher power, while glass and leather need lower settings.
How can I prevent burning during engraving?
Lower the power and increase the speed, or use protective masking.
Can the Mars 130 engrave on curved surfaces?
Yes, but it may require a rotary attachment and careful setup.
How do I maintain engraving quality at high speeds?
Balance speed with power carefully, and test settings on scrap material first.
What materials are best for long-lasting signage?
Metals and acrylics are excellent choices, especially for outdoor use.
How can I start with complex designs?
Use vector files for clean lines and software like CorelDRAW for intricate designs.
Conclusion
The Mars 130 laser engraver is a versatile and powerful tool for creating custom signage. By mastering the settings for different materials, you can achieve high-quality results that meet your needs, whether you're making business signs or personal decorations. Take the time to experiment with different techniques and materials to unlock the full potential of your Mars 130.
Call to Action: Get started with your Mars 130 today by experimenting with different materials and settings. For those looking to deepen their knowledge, consider joining a laser engraving community or enrolling in a course to further enhance your skills.

