
Drilling Holes in Acrylic Signs: A DIY Adventure (Copy)
Ever tried to hang up a cool acrylic sign, only to end up with a cracked mess? Been there, done that. But don't worry – I've got your back. Let's dive into the world of acrylic drilling and turn you into a pro.
What's the Deal with Acrylic?
Acrylic 101
First things first – what are we dealing with here? Acrylic, aka Plexiglas or Perspex, is that clear, plastic-like stuff you see everywhere. It's tough, light, and looks great, but it can be a bit... temperamental.
Two Flavors of Acrylic
There's cast acrylic and extruded acrylic. Cast is the prima donna – easier to work with but pricier. Extruded is the budget-friendly cousin, but it's a bit more prone to throwing tantrums (read: cracking) when you're drilling.
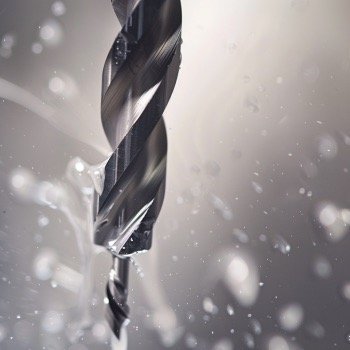
Getting Ready to Drill
Tool Time!
Before you start, let's gear up:
A drill (your trusty power tool will do)
Drill bits (get the ones for plastic – trust me on this)
Clamps (to keep things from going flying)
Safety gear (because your eyes are kind of important)
X Marks the Spot
Grab a marker and mark where you want those holes. Double-check your measurements – nobody likes wonky signs.
Let's Get Drilling
Slow and Steady Wins the Race
Remember the tortoise and the hare? Channel your inner tortoise. Slow drill speed is the way to go. Too fast, and you'll end up with melted acrylic goop.
Tape It Up
Here's a pro tip: slap some masking tape on your drilling spot. It's like a safety blanket for your acrylic.
Start Small, Dream Big
Begin with a tiny pilot hole. It's like the opening act before the main event. This little hole will guide your bigger drill bit and help prevent cracks.
Easy Does It
Don't muscle it. Let the drill do its thing. Pushing too hard is a one-way ticket to Cracksville.
After the Drill
Smooth Operator
Got some rough edges? No biggie. Grab some fine sandpaper and smooth things out. Your acrylic will thank you.
The Moment of Truth
Before you hang that sign, do a test fit. Better to catch any oops moments now than when you're balancing on a ladder later.
Rookie Mistakes to Dodge
Wrong Bit, Big Problem
Using your regular old drill bits? Bad idea. Stick to the plastic-friendly ones.
Speed Demon
This isn't NASCAR. Keep that drill speed down, champ.
Skipping the Warm-Up
Always start with a pilot hole. It's like stretching before a workout – crucial.
Safety Last? Nope!
Goggles and gloves aren't just for looks. Acrylic can be sharp, and your eyes are kind of irreplaceable.
Q&A Time
Can I use a laser instead?
Sure, if you've got a laser cutter lying around. For most of us DIY-ers, though, a drill is the way to go.
What's the best drill bit for this job?
Go for high-speed steel bits made for plastic. They're like the special forces of the drill bit world.
Help! My acrylic cracked. Now what?
Deep breaths. Unfortunately, you might need to start over. Think of it as a learning experience (that's what I tell myself, anyway).
Do I need a fancy drill press?
Nah, your regular drill will do just fine. But if you've got a drill press, knock yourself out.
Any tips for preventing cracks?
Slow and steady, light pressure, and start small. It's not a race, it's a finesse game.
Wrapping It Up
Drilling acrylic isn't rocket science, but it does take a bit of patience and know-how. Follow these tips, and you'll be hanging perfect acrylic signs in no time. Remember, practice makes perfect – so don't sweat it if your first attempt isn't Instagram-worthy. Keep at it, and soon you'll be the go-to acrylic drilling guru in your circle. Now go forth and drill with confidence!